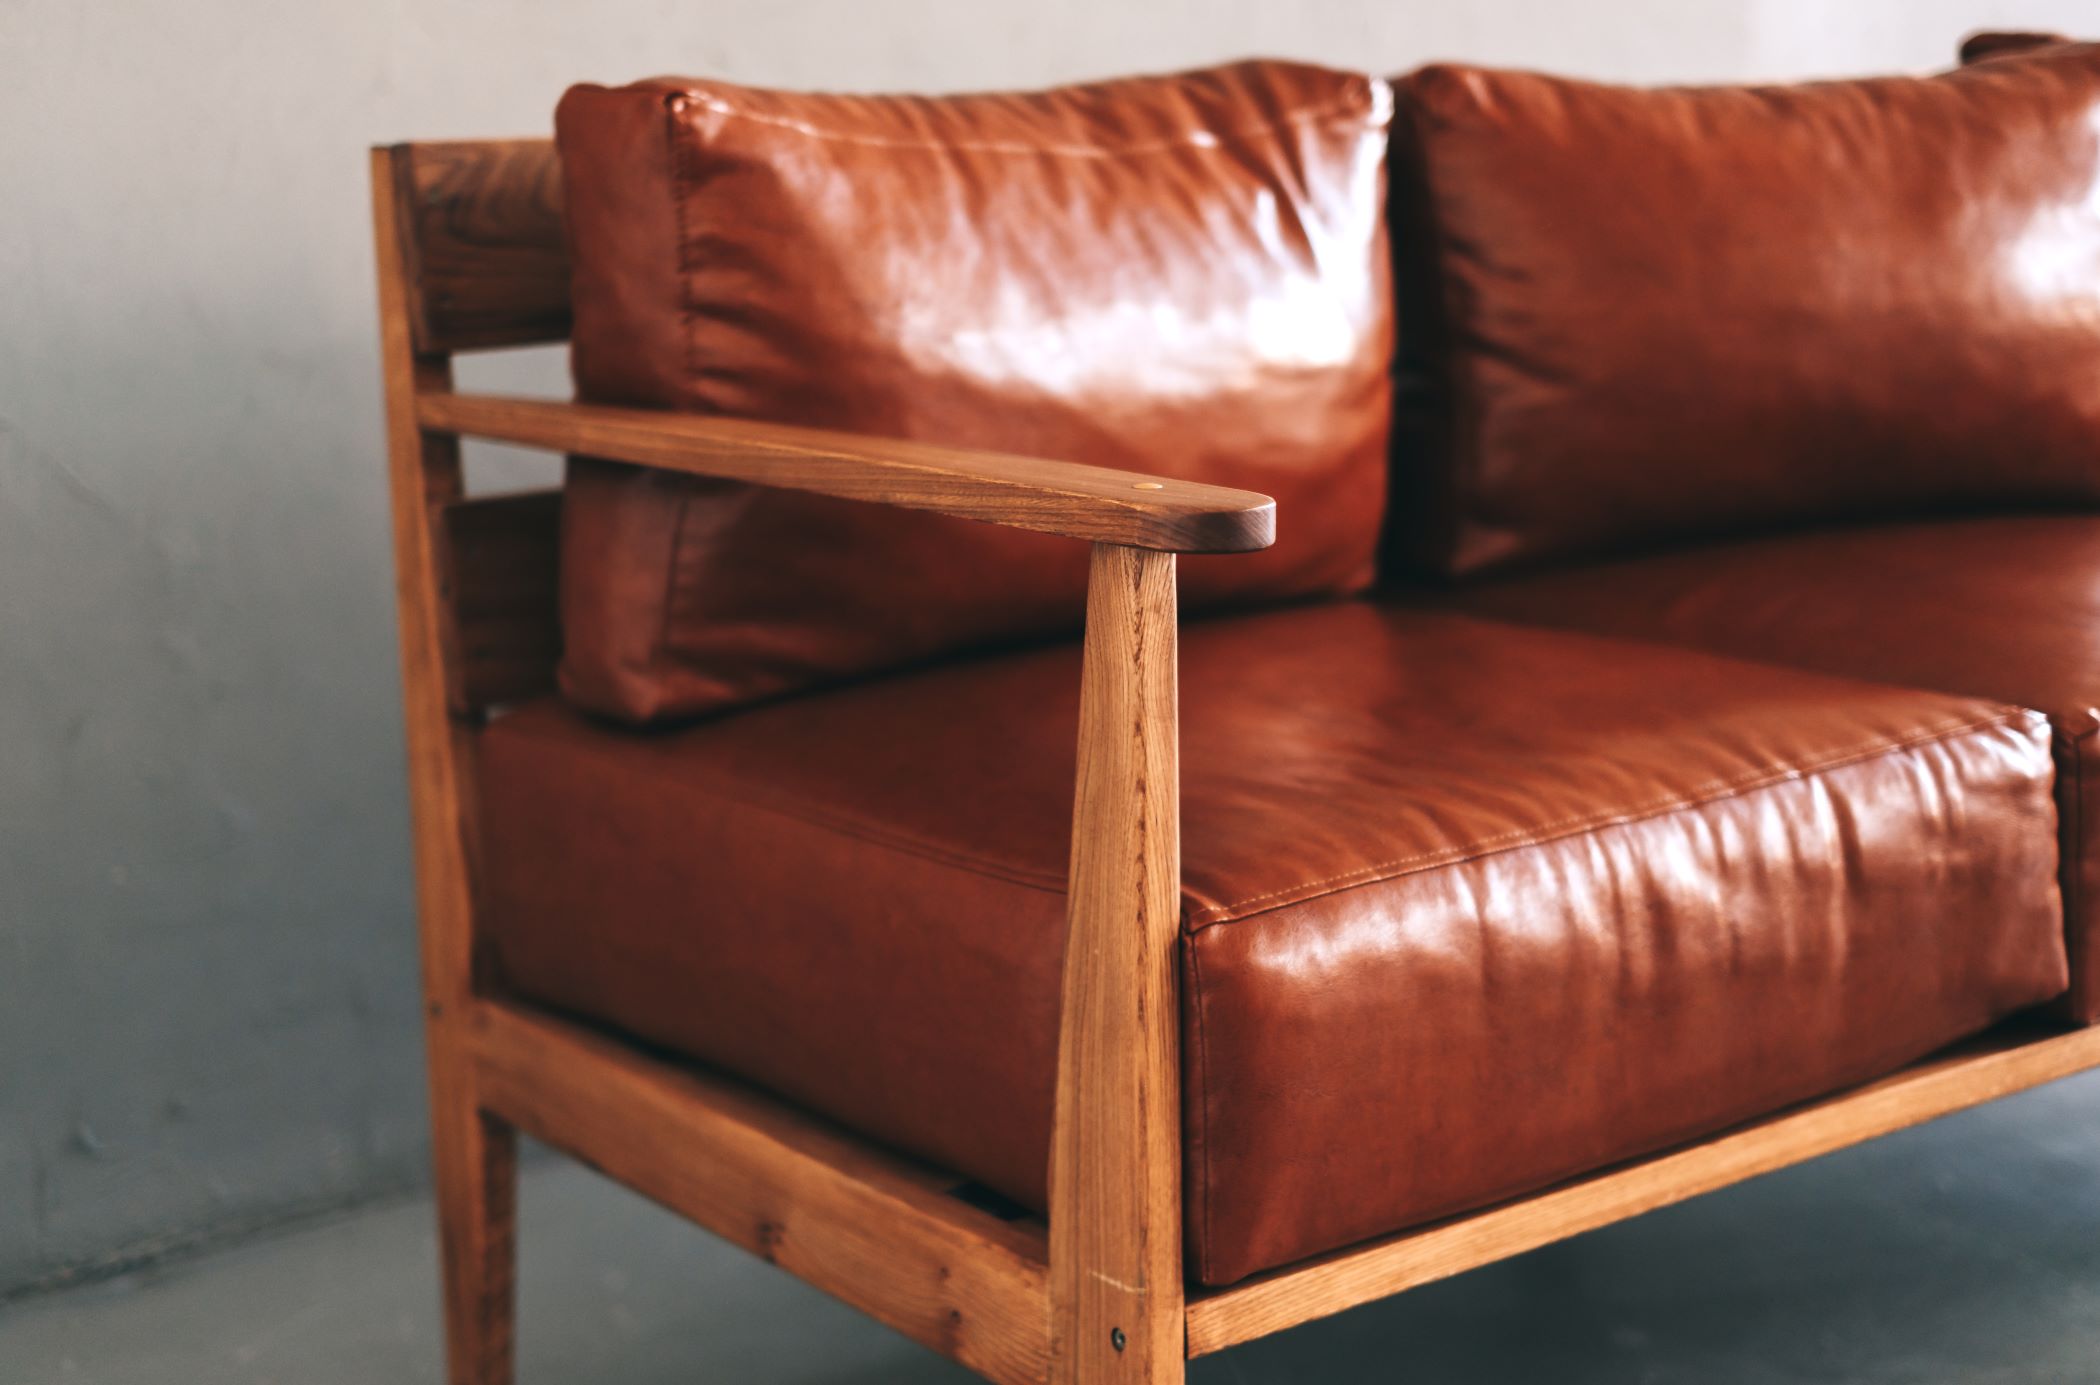
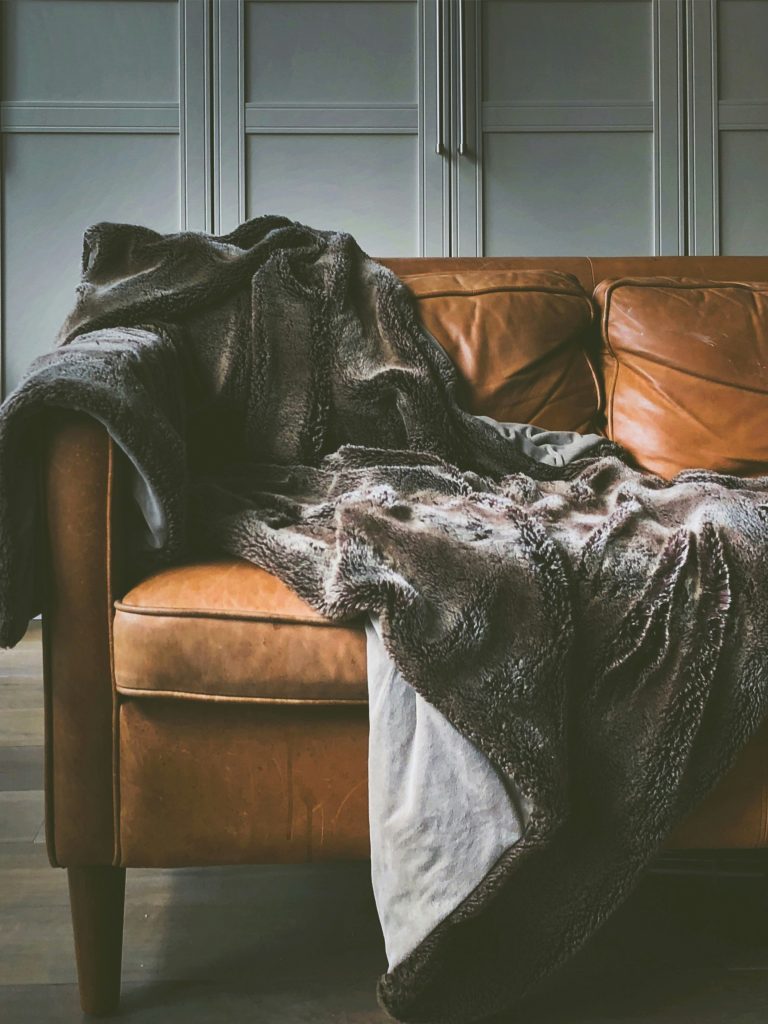
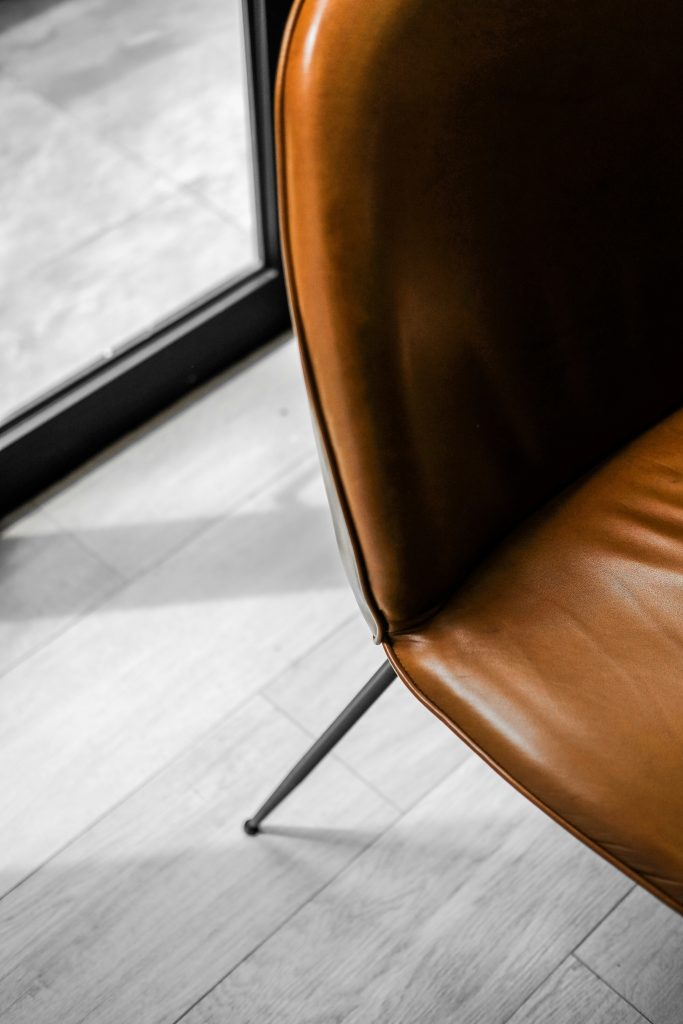
1. Assess the Furniture Damage
Before diving into the restoration process, you’ve got to assess the condition of your leather furniture, such as a sofa, desk chair or coffee side table. Look for common issues such as scratches, cracks, fading, and stains. Each type of leather damage requires a tailored approach:
- Scratches: Often caused by pets (like cats!) or sharp objects, these superficial marks are more cosmetic than structural.
- Cracks: These are usually the result of leather drying out and losing its natural oils.
- Fading: Exposure to sunlight can cause leather to lose its vibrant color over time.
- Stains: Spills and everyday dirt can leave unsightly marks that need addressing before deeper restoration.
2. Thorough Cleaning
Cleaning is the foundation of any successful leather restoration project, but it’s got to be thorough! Start by using a soft cloth to remove dust and loose dirt. For a more comprehensive leather sofa clean:
- Mix a Cleaning Solution: Use a mixture of water and a few drops of mild dish soap or a specialised leather cleaner. Avoid harsh chemicals that can damage the leather.
- Gentle Application: Dip a lint-free cloth into the solution, wring it out, and gently rub the leather in circular motions. Focus on areas with stains or visible dirt.
- Rinse and Dry: Wipe away the soap with a clean, damp cloth, ensuring no residue is left behind. Let the leather air dry naturally; never use direct heat as it can cause the leather to become brittle.
3. Addressing Scratches and Cracks on the leather
Once the furniture leather is clean, you can move on to repairing minor scratches and cracks:
- Minor Scratches: Apply a leather conditioner or cream using a soft cloth, rubbing gently to reduce the appearance of scratches. For deeper scratches, a leather repair kit with color-matching compounds can help.
- Cracks: Hydration is so, so important. Use a leather conditioner to moisturise the leather surface. For severe cracks, apply a leather filler to the affected area, smoothing it out with a spatula. After it dries, sand lightly to ensure an even surface, then dye the area to match the original color of the leather.
4. Restoring Faded Leather
To restore the original color of faded leather, you’ll need to apply a leather dye:
- Choose the Right Dye: Ensure that the dye matches your furniture’s original color. Test it on an inconspicuous area first.
- Application: Using a sponge or cloth, apply the dye in light coats, allowing it to absorb and dry between applications. Multiple thin layers will give a more even and natural finish.
- Buffing: Once the dye is dry, buff the leather with a clean cloth to restore its natural shine.
5. Conditioning and Protecting Leather
After cleaning and restoring the leather, it’s essential to condition and protect it:
- Leather Conditioner: Apply a high-quality leather conditioner to keep the leather supple and prevent future cracking. Massage the conditioner into the leather, allowing it to absorb fully.
- Regular Maintenance: To keep your leather furniture in top condition, regularly clean and condition it every six to twelve months, depending on usage. This routine care will prevent future damage and prolong the life of your leather furniture.
6. Handling Deep Leather Stains
For stubborn stains on your chic leather furniture that persist after cleaning:
- Stain Removal: Depending on the type of stain, different methods may be required. For ink stains, a small amount of rubbing alcohol on a cotton swab can help lift the ink. For grease stains, talcum powder or cornstarch can absorb the oil—just sprinkle it on and leave it for a few hours before brushing it off.
- Professional Help: If the stains are severe, or if your attempts to remove them have been unsuccessful, it may be time to consult a professional leather restorer.
7. Final Touches
After all repairs and conditioning, take a moment to inspect your work:
- Check for Uniformity: Ensure that the color is even across the entire piece and that all repairs are smooth.
- Buffing and Polishing: Finish by buffing the leather to bring out its natural sheen. A final polish can add a layer of protection and enhance the leather’s appearance.
Restoring leather furniture is an art that requires patience and strcit attention to detail (I know its hard), but the results are well worth the effort. Maintaining proper leather care and regular maintenance, your leather furniture can retain its beauty and functionality for many years to come.
By following these steps, you’ll not only restore your leather furniture but also ensure it remains a centerpiece in your home, preserving that minimalist and contemporary feel you love (and we love!).